
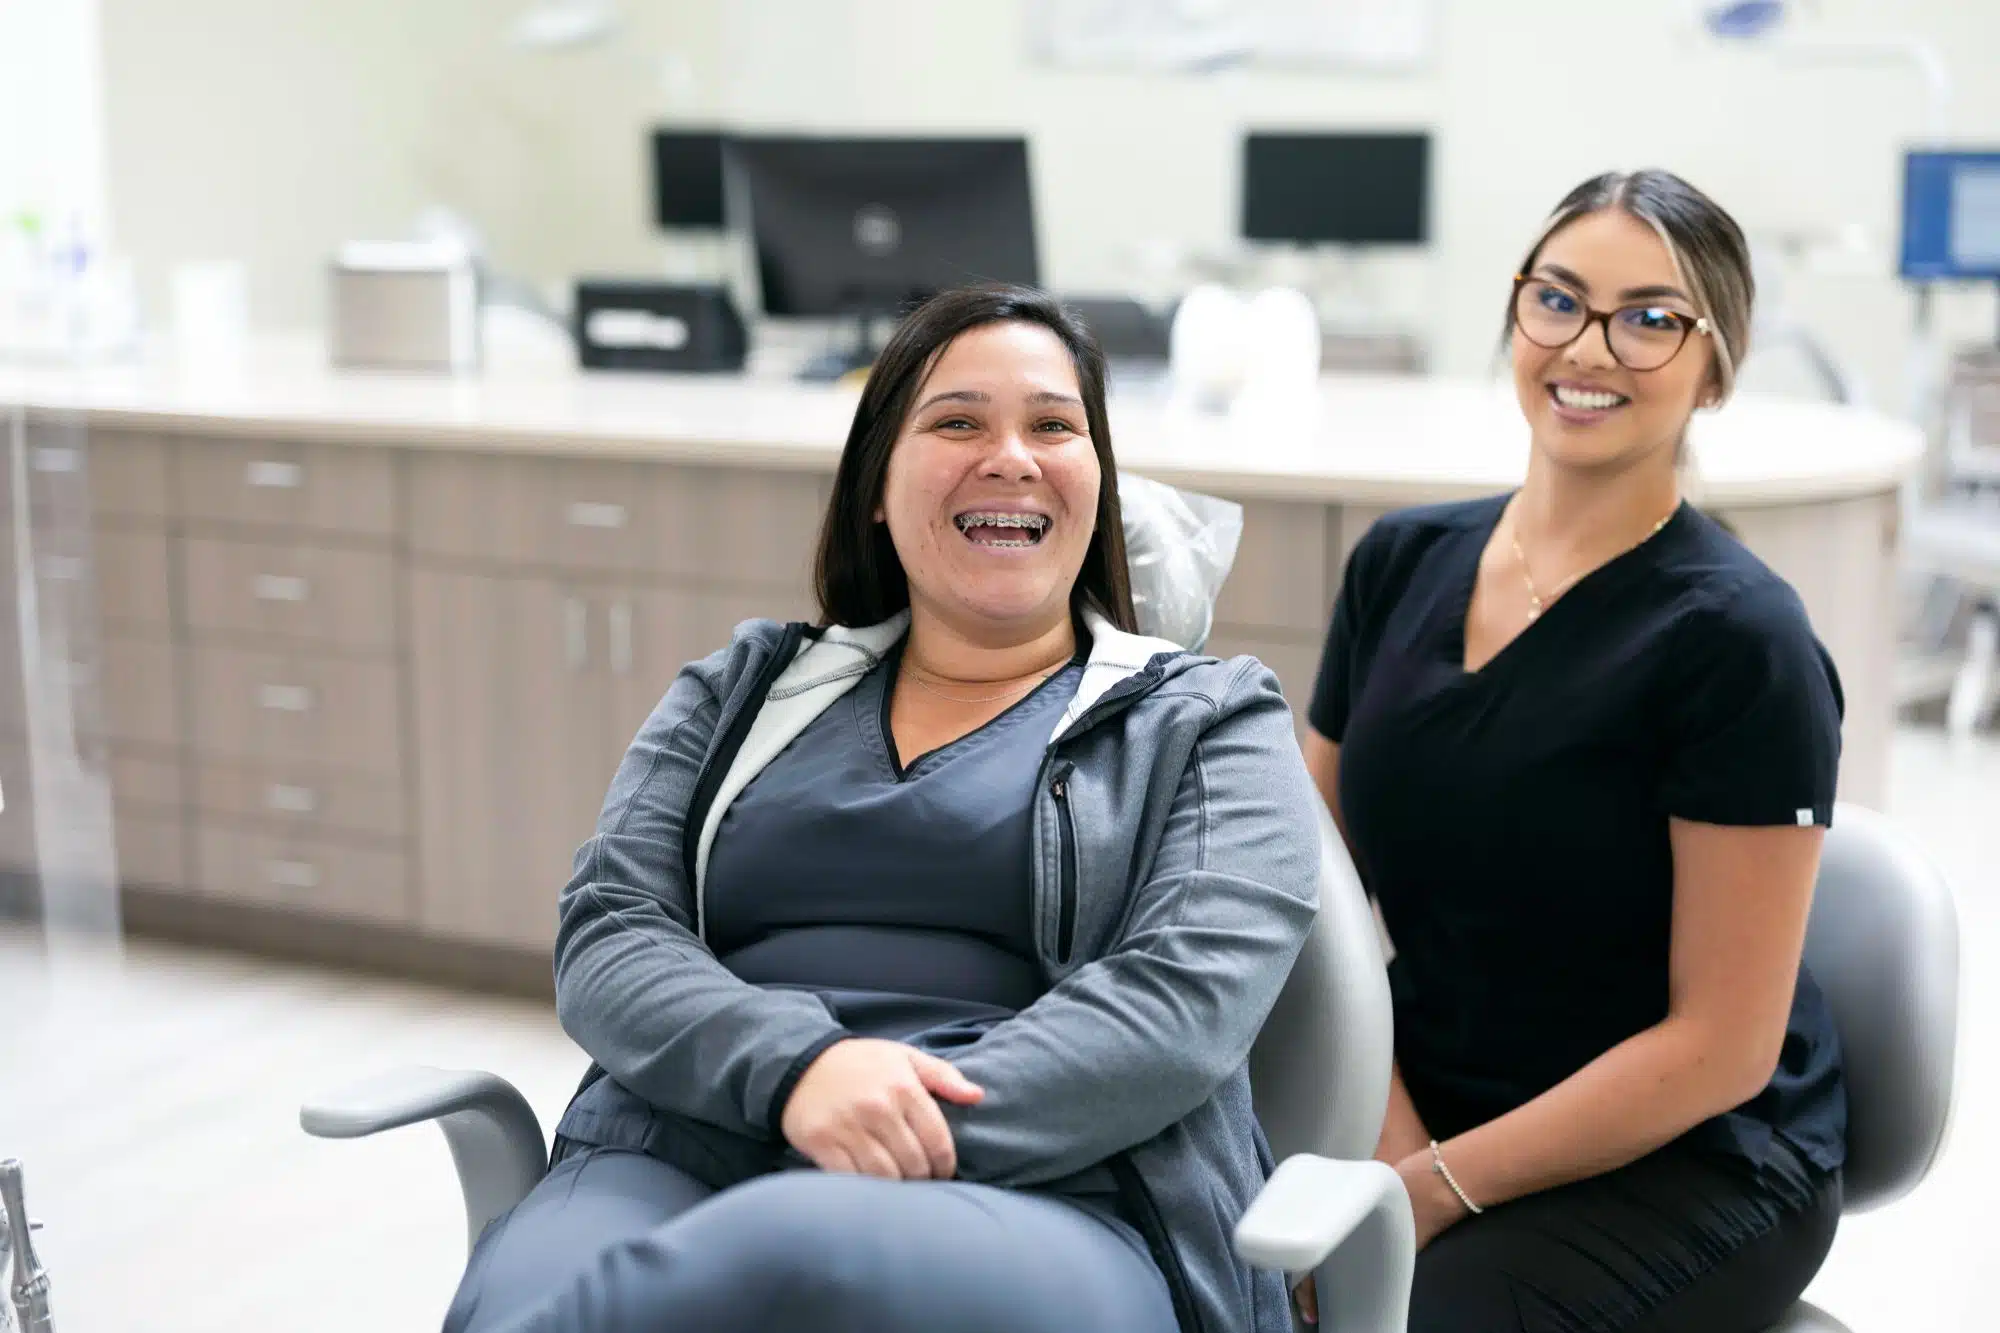
Wondering what to expect at your free orthodontic consultation? If you’re thinking about braces or clear aligners but not sure where to start, this visit is the perfect first step. It’s a relaxed, no-obligation appointment designed to answer your questions, evaluate your smile, and help you decide what’s next, all without opening your wallet.
If you’ve never been to an orthodontist before, a little uncertainty is completely normal. This guide walks you through exactly what happens from the moment you check in to the moment you head home with a written plan in hand.
Why a Free Orthodontic Consultation Matters
A free orthodontic consultation is an educational visit where an orthodontic specialist evaluates your teeth and bite, discusses possible treatment options, and reviews costs at no charge, with no pressure to commit and no hidden fees.
Most orthodontic practices offer this visit because they know choosing treatment is a big decision. You deserve time to ask questions, meet the team, and understand your options before saying yes.
Here’s why this visit is so valuable:
- It removes the financial risk of exploring treatment.
- It’s a chance to meet the doctors, tour the location, and get a feel for the team.
- You’ll leave with real answers about your smile, not vague estimates.
- It helps you make an informed choice about braces or aligners.
Before the Visit: What to Bring and How to Prepare
A little prep goes a long way. Gathering a few items ahead of time helps your visit run smoothly and gives your orthodontist the full picture of your dental history.
Bring the following:
- Photo ID
- Dental insurance card (if you have one)
- A list of current medications and any relevant medical or dental history
- Prior X-rays or records from your dentist, if available
- A written list of your questions and concerns
If you’re bringing a child or teen, talk with them beforehand. Explain that no needles, drilling, or scary equipment are involved. Most kids feel much calmer once they know the visit is really just a friendly chat and a few photos.
Wearing something comfortable and arriving 10 to 15 minutes early to fill out forms (or complete them online in advance) can also make the experience easier.

Step 1: Warm Welcome and Paperwork
Your visit starts with a friendly greeting at the front desk. You’ll be checked in, offered a quick tour of the location, and introduced to a treatment coordinator who will be your guide throughout the visit.
This first part usually takes about 10 to 15 minutes and includes:
- A warm welcome and quick office tour
- New patient forms (or a review of your online pre-registration)
- Insurance verification, if applicable
- An introduction to your treatment coordinator
The goal here is simple: help you feel comfortable and settled before the clinical part of the visit begins.
Step 2: Digital Scans, X-rays, and Photos
Next comes the diagnostic imaging. Don’t worry, nothing hurts and nothing is invasive. The whole imaging portion typically takes under 15 minutes.
Here’s what’s usually included:
- Panoramic X-ray: A single rotating image that captures your teeth, jaw, and surrounding structures.
- Digital impressions: Using a digital scanner, we capture a 3D image of your teeth in minutes. No goopy trays or messy molds.
- Intraoral and facial photos: Simple pictures that help the orthodontist study your smile from every angle.
These images give your orthodontist the detailed view needed to make accurate recommendations.
Step 3: What Happens During the Orthodontic Exam?
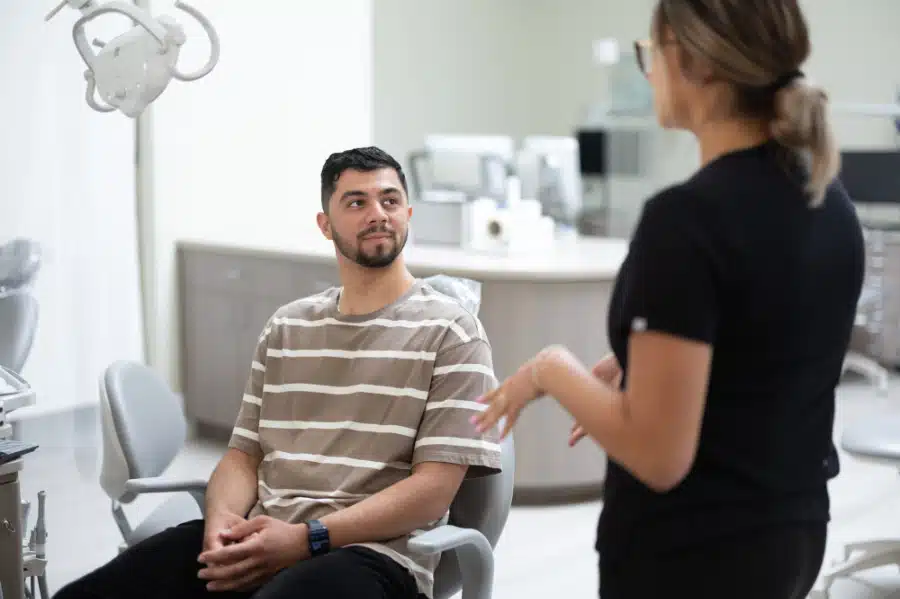
Now it’s time to meet your orthodontist. This part of the braces consultation is where the real evaluation happens, and it’s also when you’ll get most of your answers.
During the exam, your orthodontist will:
- Check your bite alignment and look for signs of malocclusion (a misaligned bite)
- Evaluate how your jaw functions and how it relates to your facial structure
- Review your X-rays and scans with you chairside
- Explain the diagnosis in plain, easy-to-understand language
You’ll be encouraged to ask questions along the way. There are no dumb questions here, only opportunities to learn more about your smile.
Step 4: Personalized Treatment Options Discussion
Once the exam is complete, your orthodontist will walk you through the treatment options that fit your case. Whether it’s a braces consultation or an Invisalign consultation, this is a conversation, not a sales pitch.
Depending on your needs, options may include:
- Metal braces: Durable, reliable, and often the fastest route for complex cases.
- Clear braces: Tooth-colored brackets that blend in for a more subtle look.
- Clear aligners: Removable trays for a nearly invisible option.
Your orthodontist will explain the pros and cons of each choice, share an estimated treatment timeline, and help you understand which option best fits your goals and lifestyle. What you won’t get? Pressure to commit on the spot.
Step 5: Cost Breakdown, Insurance, and Financing
Money matters, and a good consultation makes the financial side clear and stress-free. Your treatment coordinator will sit down with you to review the numbers in plain language.
Expect to receive:
- A written treatment estimate you can take home
- A review of your insurance benefits and what’s covered
- Information on in-house financing and monthly payment plans
- Details about HSA, FSA, and third-party financing options
At Dr. Lili & Associates, we believe everyone should have access to a beautiful smile, so we make it easy to get treatment on your budget. And you never have to decide the same day, take the plan home, think it over, and reach out when you’re ready.
Questions You Should Ask During Your Consultation
A free consultation is your chance to interview your future orthodontist. Come prepared with questions so you leave with total clarity.
Here are smart ones to ask:
- What treatment options are best for my case, and why?
- How long will treatment take from start to finish?
- What’s the total cost, and what payment plans are available?
- How often will I need to come in for visits?
- What’s your experience with cases similar to mine?
- What should I look out for that might signal a low-quality orthodontic practice?
Good signs to look for include transparent pricing, up-to-date technology, friendly staff, and a doctor who takes time to answer every question without rushing you.
What Happens After the Consultation
Once you head home, the ball is in your court. There’s no follow-up sales call, no pressure, just time to think.
Here’s what most people do next:
- Review the written treatment plan at home
- Get a second opinion if that helps you feel confident
- Talk it over with family or a trusted friend
- Reach back out to schedule a start date when you’re ready
Some practices also offer virtual follow-ups for quick questions or check-ins, which can be a convenient way to stay connected between in-office visits.
Taking the Next Step With Confidence
A free orthodontic consultation is one of the most useful hours you’ll spend on your smile. You’ll leave with a clear picture of your options, a written plan, and zero obligation, exactly what you need to make a confident decision.
Whether you’re exploring clear aligners, clear braces, or metal braces, the right first step is simply showing up and asking questions. Your future smile is worth it.
When you’re ready to explore your options, our team at Dr. Lili & Associates would love to welcome you to our orthodontic family and help you take that first step.